
Seafood Cleaning and Preparation
Cleaning seafood depends on the type, but the core steps involve scaling, gutting, and rinsing. For whole fish, remove scales with a knife, slit the belly, scoop out the entrails, and trim fins. For shellfish like shrimp, peel and devein. For clams, soak in saltwater to purge sand. The culinary journey from ocean to plate begins at the cutting board. Proper preparation techniques preserve the pristine textures of your seafood, while smart cleanup habits guarantee a fresh, welcoming kitchen environment.
Seafood Prep & Cleanup Guide
🦪 How to Clean & Prepare Mussels Bivalves
Our premium Ecuadorian mussels require minimal handling, but cleaning wild or farmed bivalves correctly is critical to achieving a silky, grit-free finish in your broths and stews. Farmed mussels are generally cleaner than wild ones, but both require de-bearding and sorting.
- Perform the Sort: Discard any mussels with cracked, crushed, or heavily damaged shells. For gaping mussels, perform the “tap test.” Tap them against the counter or another shell. If they slowly clamp shut, they are alive and safe. If they remain open, discard them.
- Scrub the Shells: Place the sorted mussels in a colander and run cold tap water over them. Use a stiff scrubbing brush to vigorously remove any mud, barnacles, or surface grit from the exterior shells.
- De-beard the Mussels: Locate the “beard” (the byssus thread), which is a clump of fibrous, hair-like threads protruding from the shell joint. Grab the beard firmly with your fingers or a dry paper towel and yank it sharply toward the hinge of the shell. Pulling it toward the opening can tear the interior muscle and kill the mussel prematurely.
- Final Rinse: Give the de-bearded, scrubbed mussels a final rinse in ice-cold water. Drain thoroughly. Keep them cold until the exact moment of cooking.
🍋 How to Shuck Oysters Safely Bivalves
Shucking oysters is a culinary ritual that demands patience and the right technique. The goal is to pop the hinge lock safely, slide the blade to sever the muscle, and preserve the delicious, briny liquor pooled inside the cup.
- Safety & Hand Setup: Always wear a cut-resistant shucking glove or wrap your non-dominant hand in a thick, folded kitchen towel. Hold the oyster flat in your gloved hand, keeping the deep, cup-shaped shell on the bottom and the flatter shell on top. Ensure the pointed hinge (the umbo) is facing toward you.
- Secure the Knife Entry: Using a dedicated oyster knife with a hand guard, insert the tip of the blade directly into the hinge. Apply firm, steady pressure. Do not force it aggressively; wiggle the blade gently back and forth until you feel it slip into the hinge joint and lock into place.
- The Key Turn (Twist and Pop): Twist the knife blade like a key in an ignition. You will hear a distinct “pop” as the hinge joint breaks open.
- Sever the Adductor Muscle: Keeping the knife blade flat against the inside of the top flat shell, slide the blade forward to sever the adductor muscle that connects the oyster meat to the top shell. Lift and discard the top shell.
- Clean and Release: Wipe the knife blade clean of any tiny shell fragments. Slide the blade gently under the oyster body to sever the bottom adductor muscle, freeing the oyster so it rests loose in its natural pool of ocean liquor.

🐚 How to Purge & Clean Clams Bivalves
Clams live buried in sandy ocean floors, meaning their internal cavities naturally trap fine grit. To enjoy a perfectly clean bite of clams in your pasta or clam bake, you must simulate seawater to encourage them to breathe out and purge their sand naturally.
- Discard and Inspect: Just like mussels, examine the shells. Discard any dead, cracked, or unresponsive clams that fail the tap test.
- Formulate the Purge Solution: In a large mixing bowl, create a seawater mimicry. Dissolve 30 grams of sea salt per 1 liter of cold tap water. This achieves the ideal 3% salinity required to keep the clams comfortable enough to open and filter water. Do not use iodized table salt, as the chemicals can kill them.
- The Cold Purge (20–60 Mins): Submerge the clams in the saltwater solution. Place the bowl in the refrigerator for at least 20 minutes (and up to an hour). To accelerate the purge, scatter a tablespoon of cornmeal on top of the water; as the clams ingest the cornmeal, it helps push any remaining sand out of their systems.
- Scrub and Extract: Gently lift the clams out of the purging bowl (do not pour the bowl into a colander, or you will dump the settled sand back over them). Use a stiff brush to clean off any remaining grit from the outer shells, rinse under cold running water, and pat dry.
🔪 How to Clean & Remove Skin From Fish Finfish
While cooking fish skin-on helps retain moisture and offers a deliciously crispy texture, certain preparation methods—like poaching, baking, or assembling raw ceviches—require clean, skinless fillets. Skinning a fillet at home requires a flexible knife and steady leverage.
- Workspace Prep: Lay your fish fillet skin-side down on a clean, stable cutting board. Place a damp kitchen towel underneath the board to prevent any slipping during knife work. Pat the fish completely dry with a paper towel.
- Create the Hand Grip: Position the fillet so the tail end is facing toward your dominant hand. Slice a tiny, shallow incision between the flesh and the skin at the very edge of the tail—just enough to give you a firm, non-slip grip on the skin. Use a paper towel to hold onto the tail skin for better leverage.
- Angle the Blade: Insert a sharp, flexible filleting knife into your incision. Tilt the blade at a shallow 45-degree angle facing slightly downward toward the skin, but not so steep that it cuts through it.
- The “Saw and Pull” Motion: Hold the knife blade steady and use a gentle, rhythmic sawing motion. Instead of pushing the knife forward through the fish, pull the skin firmly back and forth with your non-dominant hand. By pulling the skin against the stationary blade, you will achieve a clean, seamless separation without leaving any flesh behind.
🧼 How to Get Rid of Fish Smell After Cooking Odor Control
A fresh, pristine catch smells clean and refreshing, like the ocean. However, as fish cooks, its natural amino acids break down and release Trimethylamine (TMA), an alkaline compound that can linger in the air. Neutralizing this smell is a matter of simple kitchen chemistry.
1. Active Room Neutralization
Because TMA is an alkaline base, you can easily neutralize it by introducing natural acids to the air:
- The Vinegar Boil: Simmer a small saucepan filled with 1 cup of water and 1/2 cup of white vinegar on the stove during and after cooking. The rising acidic steam neutralizes airborne fish odors on contact.
- Baking Soda Bowls: Leave a small bowl of dry baking soda on your kitchen counter overnight to absorb lingering ambient aromas.
2. Restoring Your Hands
Regular soap can dry out skin and lock fish smells in. Try these kitchen-tested neutralizers instead:
- Stainless Steel Magic: Rub your hands under cold running water against a stainless steel sink or bar. Stainless steel molecules bind with the sulfur and oil molecules on your skin, lifting the smell away.
- Citrus Scrub: Wash your hands with fresh lemon or lime juice mixed with coarse salt or coffee grounds to scrub away oils and leave a clean, bright scent.
Ultimate Seafood Prep & Cleanup FAQ
هل لديك أسئلة حول الطلب من "أطعمة البحر"؟ ستجد أدناه إجابات سريعة ومفصلة حول مصادرنا المميزة في الإكوادور أو النرويج، وشبكات الشحن الدولية المتخصصة لدينا، وكيف نضمن لك أعلى مستويات النضارة حتى باب منزلك.
How do I clean fresh squid/calamari?
Cleaning fresh squid is a simple process once you know the anatomy:
- Gently pull the head and tentacles away from the body tube (the mantle). The innards should slide out cleanly.
- Cut the tentacles off just below the eyes. Discard the head and innards, keeping the tentacles. Locate the small, hard beak inside the center of the tentacles and squeeze to pop it out.
- Reach inside the body tube and pull out the clear, plastic-like cartilege structure (called the gladius or pen).
- Peel the thin, dark purple skin away from the exterior of the white body tube under cold running water. Rinse the inside of the tube thoroughly. Slice the tube into rings or score the flesh flat for grilling.
Should I devein wild shrimp, and how do I do it?
The “vein” along the back of a shrimp is actually its digestive tract. While small shrimp are perfectly safe to eat without deveining, larger shrimp can contain grit that affects the texture of your dish. Deveining is recommended for a clean, premium presentation:
- If the shrimp are shelled, use a small pairing knife to make a shallow incision along the curved back of the shrimp.
- Use the tip of your knife or a toothpick to lift out the dark vein under cold running water. Rinse thoroughly.
- Pro Tip: Keep the discarded shrimp shells in a freezer bag! They are packed with rich, sweet flavor and can be used to make a quick, incredible stock for seafood risottos and paellas.
Washing or rinsing fish and seafood
Fish, depending on the fishmonger, sometimes I will rinse a whole fish it if there is blood or innards still in there; I will make certain after to dry it out completely before using.
For fillets and portioned fish or shelled shrimps, no, i will only dry it out.
For shellfish like mussels, clams, I will rinse them and let them soak in cold salted water (I never tried the corn meal trick, google it).
For raw unshelled shrimps, I will clean them out and rinse after.
What is the best way to clean and dispatch a live lobster?
For safety and the sweetest, most tender meat, live lobsters should be dispatched immediately before cooking:
- Keep the lobster cold in your refrigerator until you are ready to cook. Cold temperatures act as a natural anesthetic, slowing down their metabolism and inducing a sleep-like state.
- To dispatch humanely: Place the lobster on a clean cutting board. Insert the tip of a heavy chef’s knife directly into the center of the cross-mark on the top of the head and press downward quickly and firmly through the mouth. This destroys the central nervous system instantly.
- Before boiling or steaming, rinse the exterior shell under cold water to remove any ocean silt or seaweed.
How do I clean and scale a whole fish?
Cleaning a whole fresh fish is a classic culinary skill. Follow these steps to ensure a clean cook:
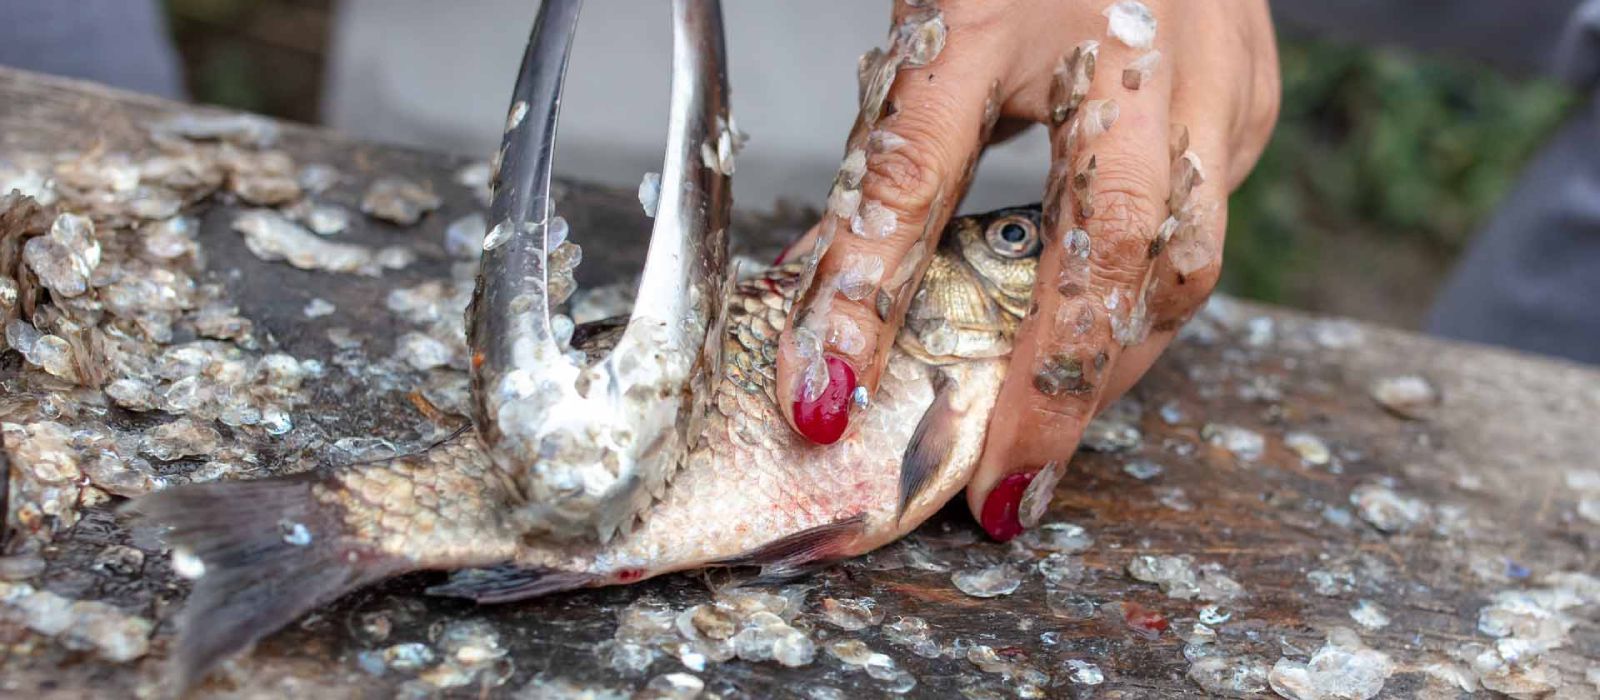
- Scaling: Hold the fish firmly by the tail. Use a dedicated fish scaler or the back of a chef’s knife. Hold the tool at a 45-degree angle and slide it from the tail toward the head in short, firm strokes. Perform this step inside a clean plastic bag or submerged in a sink of shallow water to prevent fish scales from flying around your kitchen.
- Gutting: Insert a sharp utility knife into the small vent near the tail on the underside of the fish. Cut a clean, straight slit forward up to the gills. Reach inside and pull out the organs cleanly. Discard.
- Rinsing: Wash the internal cavity under cold running water, making sure to scrape away the dark red bloodline running along the backbone. Pat dry inside and out before seasoning.
What is the best way to sanitize a cutting board after preparing raw seafood?
To prevent cross-contamination and eliminate odors, sanitize your cutting boards immediately after use:
- For Plastic Boards: Wash with hot, soapy water, then spray with a solution of 1 tablespoon of unscented liquid chlorine bleach per gallon of water. Let stand for 5 minutes, rinse, and air dry.
- For Wooden Boards: Avoid dishwashers or soaking. Scrub with hot water and soap. To deodorize, sprinkle coarse salt over the board, rub vigorously with half a cut lemon to release citric acid, let sit for 10 minutes, scrape away, and wipe dry.